If you have ever tried to grow or maintain anything green here in Western Washington, at one time it has sadly probably died on you. Let’s be honest, shall we? It’s a rite of passage for the flower, fruit or vegetable gardener to accidentally have a plant not make it, or have your prized blueberries not produce much, or have most of the zucchini flowers fall off, leaving you with only a few puny zukes. Sometimes it’s the weather, and sometimes it’s us. Either way, we could all use a little help growing things in our Pacific Northwest climate.
One of the best helpers we can enlist in our gardens and fields are native pollinators, especially native bees. It doesn’t matter whether you’re working with a small backyard flower or vegetable garden or something larger, providing habitat for local pollinators can lead to larger and more abundant yields.
Why Native Bees?
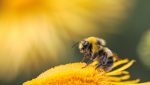
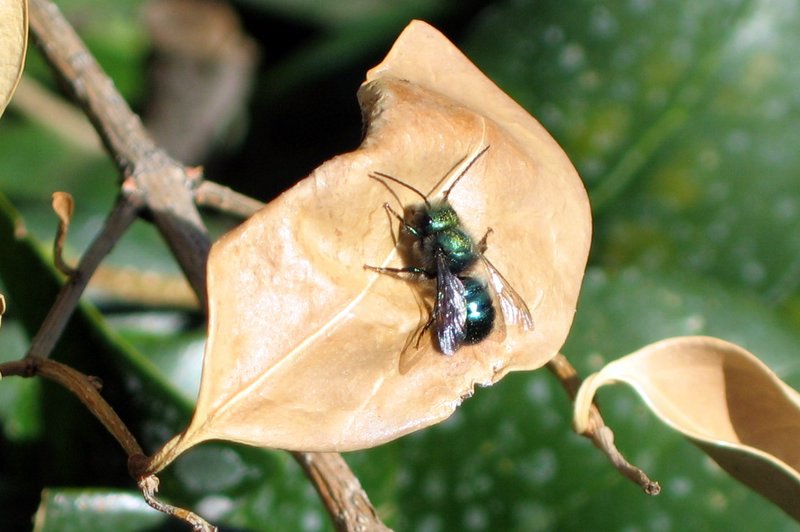
Native bees (especially mason and bumble bees) have proven themselves to be more efficient and effective pollinators than European honey bees. Native bees are more active in cooler and wetter climates (like ours) and forage earlier or later in the day than honey bees do.
Also, native bees have a wide variety of foraging behaviors compared to honey bees. When honey bees forage for nectar, there is no interaction with the pollen-producing parts of the flower in many orchard crops, leaving those crops either under pollinated or not pollinated at all.
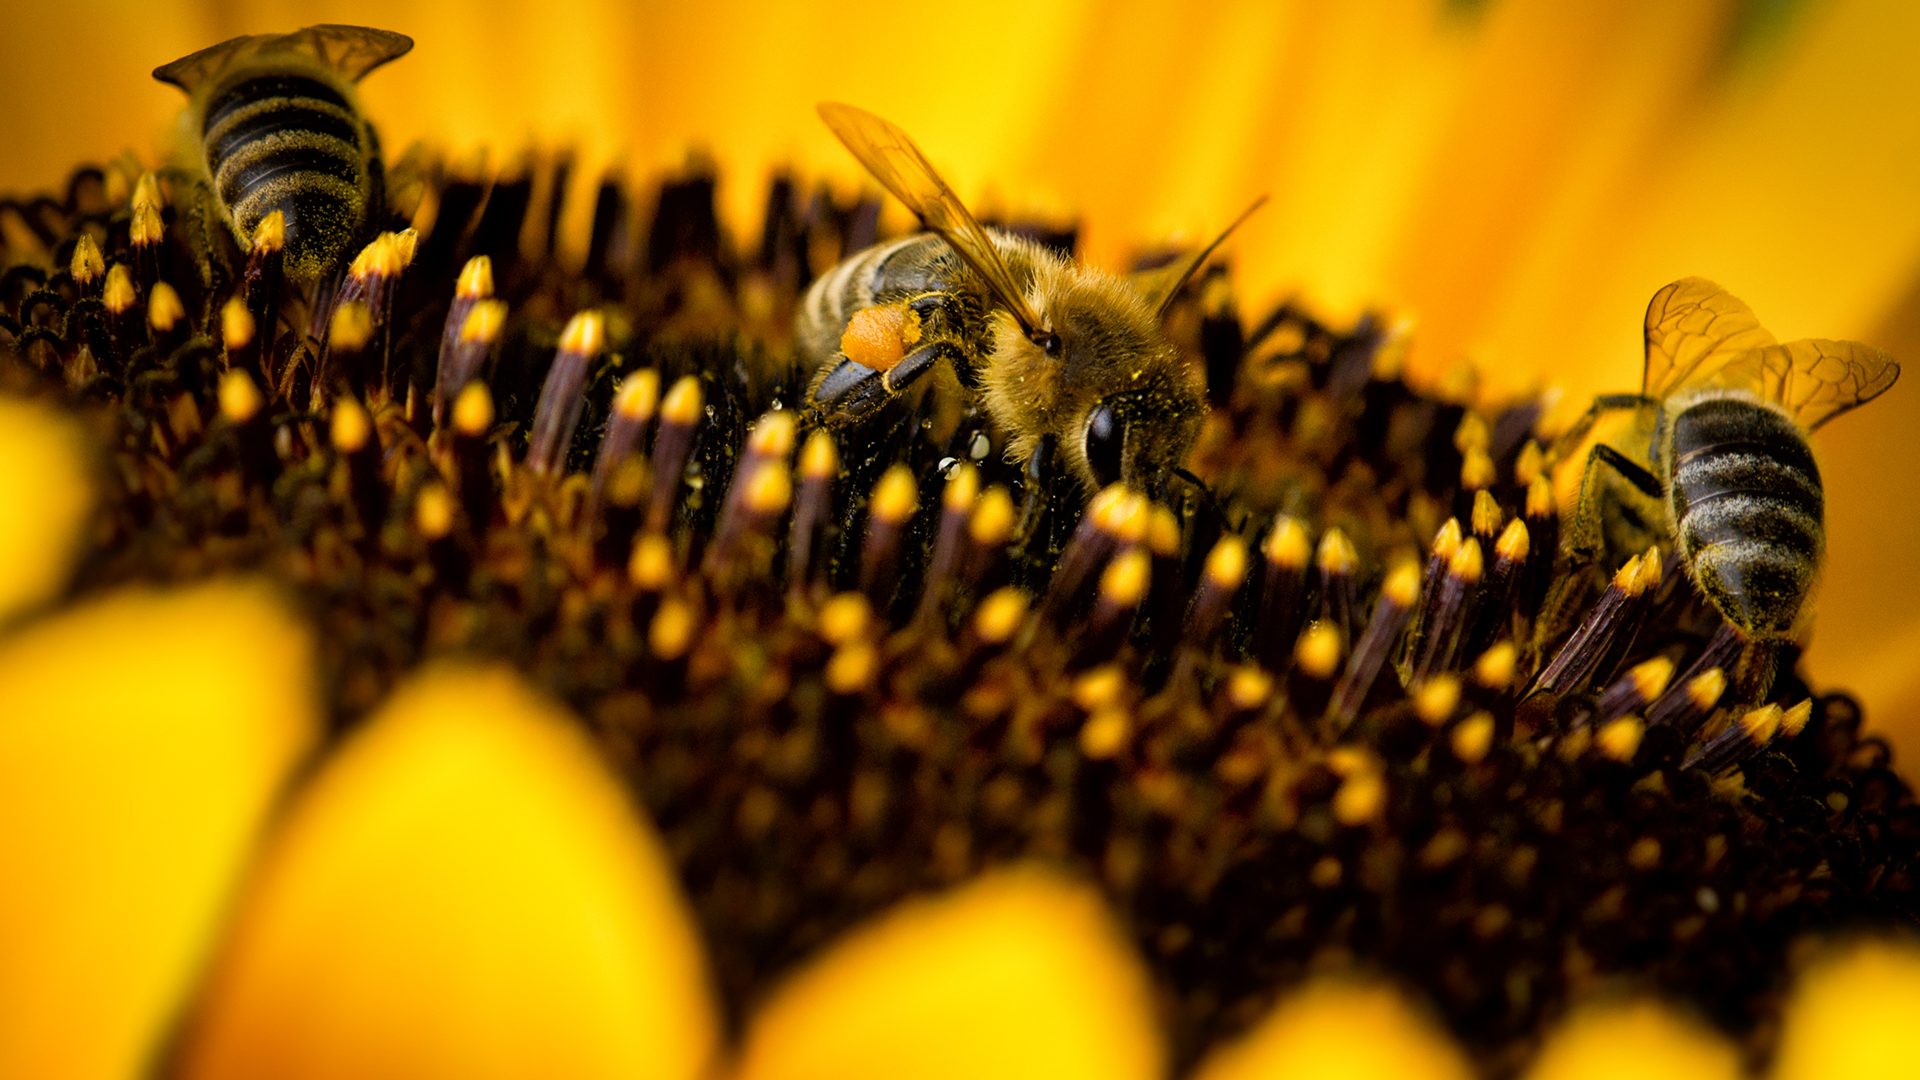
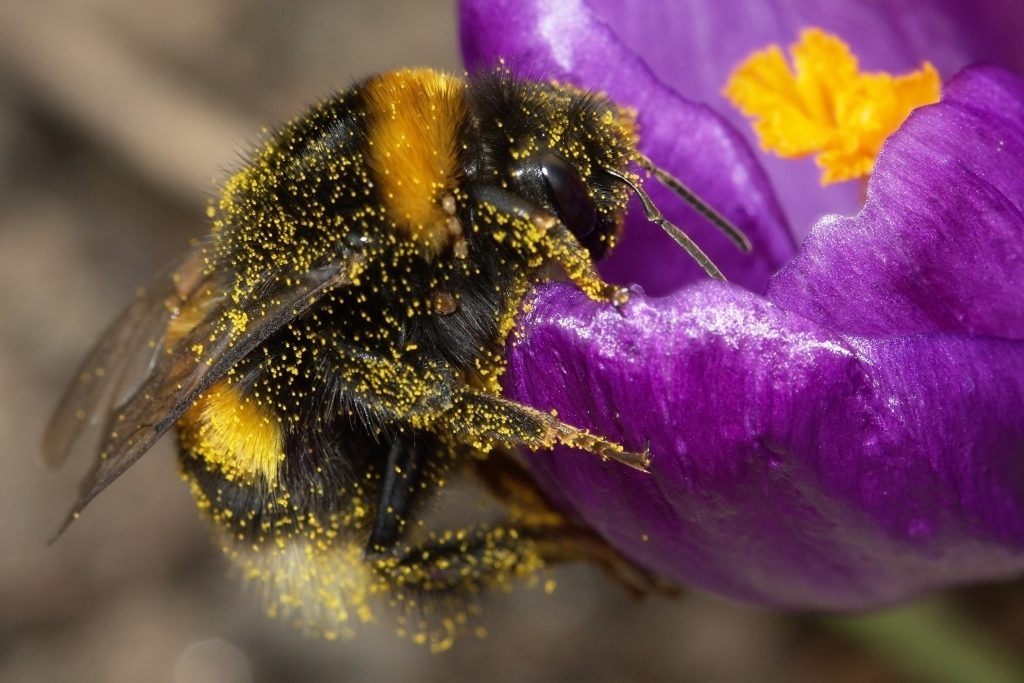
Conversely, our native orchard mason bees forage for both pollen and nectar, which greatly increases the potential to pollinate crops. Certain native bees have specialized to work with only one type of flower. The bumble bee for instance, has a unique characteristic – buzz pollination – that helps with cross-pollination of blueberries, tomatoes and peppers.
During buzz pollination, the bee shakes her flight muscles while grabbing onto one of pollen-producing stalks inside the flower. This releases a rush of pollen that is attracted to the hairs of bee making for a quick and efficient way of collecting of pollen. While tomatoes don’t actually need a pollinator to produce fruit, this buzzing activity can increase the size and number of tomatoes.
Creating Bee Habitat in Four Easy Steps
Like all new endeavors, creating habitat for local pollinators can seem a little daunting at first glance. If you take it step by step however, it can be simple, interesting and rewarding for you and your plants. The first step in creating habitat for local pollinators is to look around and see what you are currently doing in your yard. Next, you’ll figure out if the way you are gardening helps or harms bees, and then what simple changes you can make to increase bee visiting and/or living on your property.
1. Become a Bee Detective
This first step is all about paying attention to your yard. Take a little time each week to watch for bees. Look at your landscaped areas, your lawn, even along your driveway and the road. The idea is to see ‘like a bee’ and learn what already exists as bee habitat – food, nests, and shelter. What places and plants are bees attracted to? How often are these places and plants visited? What time of day is it? What season?
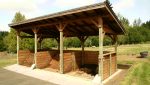
For bee nests, look at areas of bare and thinly vegetated soil, as well as tunnels in snags and in hollow twigs. The majority (roughly 70 percent) of bees are ground-nesters that dig their own holes or occupy old rodent hollows. The remaining 30 percent are tunnel-nesters, creatively living in abandoned beetle tunnels, twigs or stumps.
2. Protect Your Pollinators
If you have found evidence of bees on your property, your next step is to protect them. You can do this by leaving nesting places and plants undisturbed. Be careful to stay away from them when mulching, tilling and spraying pesticides and other chemicals. Also, look at areas that could become bee homes, such as dying trees or rodent holes, and leave them alone as well.
3. Draw a Simple Sketch
Now that you know where bee nests and their favorite plants are, draw a simple sketch showing their location on your property, and include an arrow pointing North. This ‘basic map’ doesn’t have to pretty or perfectly accurate, you just need to be able to make sense of it. Noting where bee habitat is located in your yard, mark places on your sketch where you would like to add more nectar or pollen-producing flowers, nesting sites, or a damp soil patch or two as ‘watering holes’. Keep in mind that some of our native bees do not fly far (500 ft or so) from their homes, so plants might need to be planted close to nests.
4. Designing Your Mini Bee Gardens
Now it’s time to look at your sketch from the plant’s point of view and consider sun and soil conditions. Your bee garden/s need to be sunny (at least six hours of sun in summer) and warm, with plants that will thrive in your kind of soil (clay, sand, loam, etc.) You can find out what kind of soil is in your garden beds by using a soil test. Contact your local Master Gardeners on how to do this.
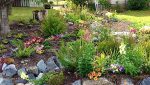
It’s best, when attracting bees, to create larger rounded areas that are fairly close together instead of small, irregular shaped patches that are farther apart. This ‘bunch’ arrangement helps deter weeds and pesticide applications from neighbors or road crews. Clumping the same type of flower into a space three feet across has proven to be more attractive to pollinators than spreading out the same flowers in your entire yard. It saves them precious energy, makes pollination easier, and keeps them safer from predators.
Lastly – and this is very critical – you need to choose a variety of plants. Use at least three different plant species for each garden plot – one that will bloom in spring, another in summer and the third in fall. This means that the minimum number of different plants you need is nine. Bees are most attracted to flowers that are bright white, yellow or blue; and if the petal shapes are shallow, tubular or have a landing platform.
Native pollinators are more attracted to native plants, so consider using some or all native perennials, shrubs and even trees. These plants are also better suited to our soils and climate, making them a lower maintenance/lower cost choice for you.